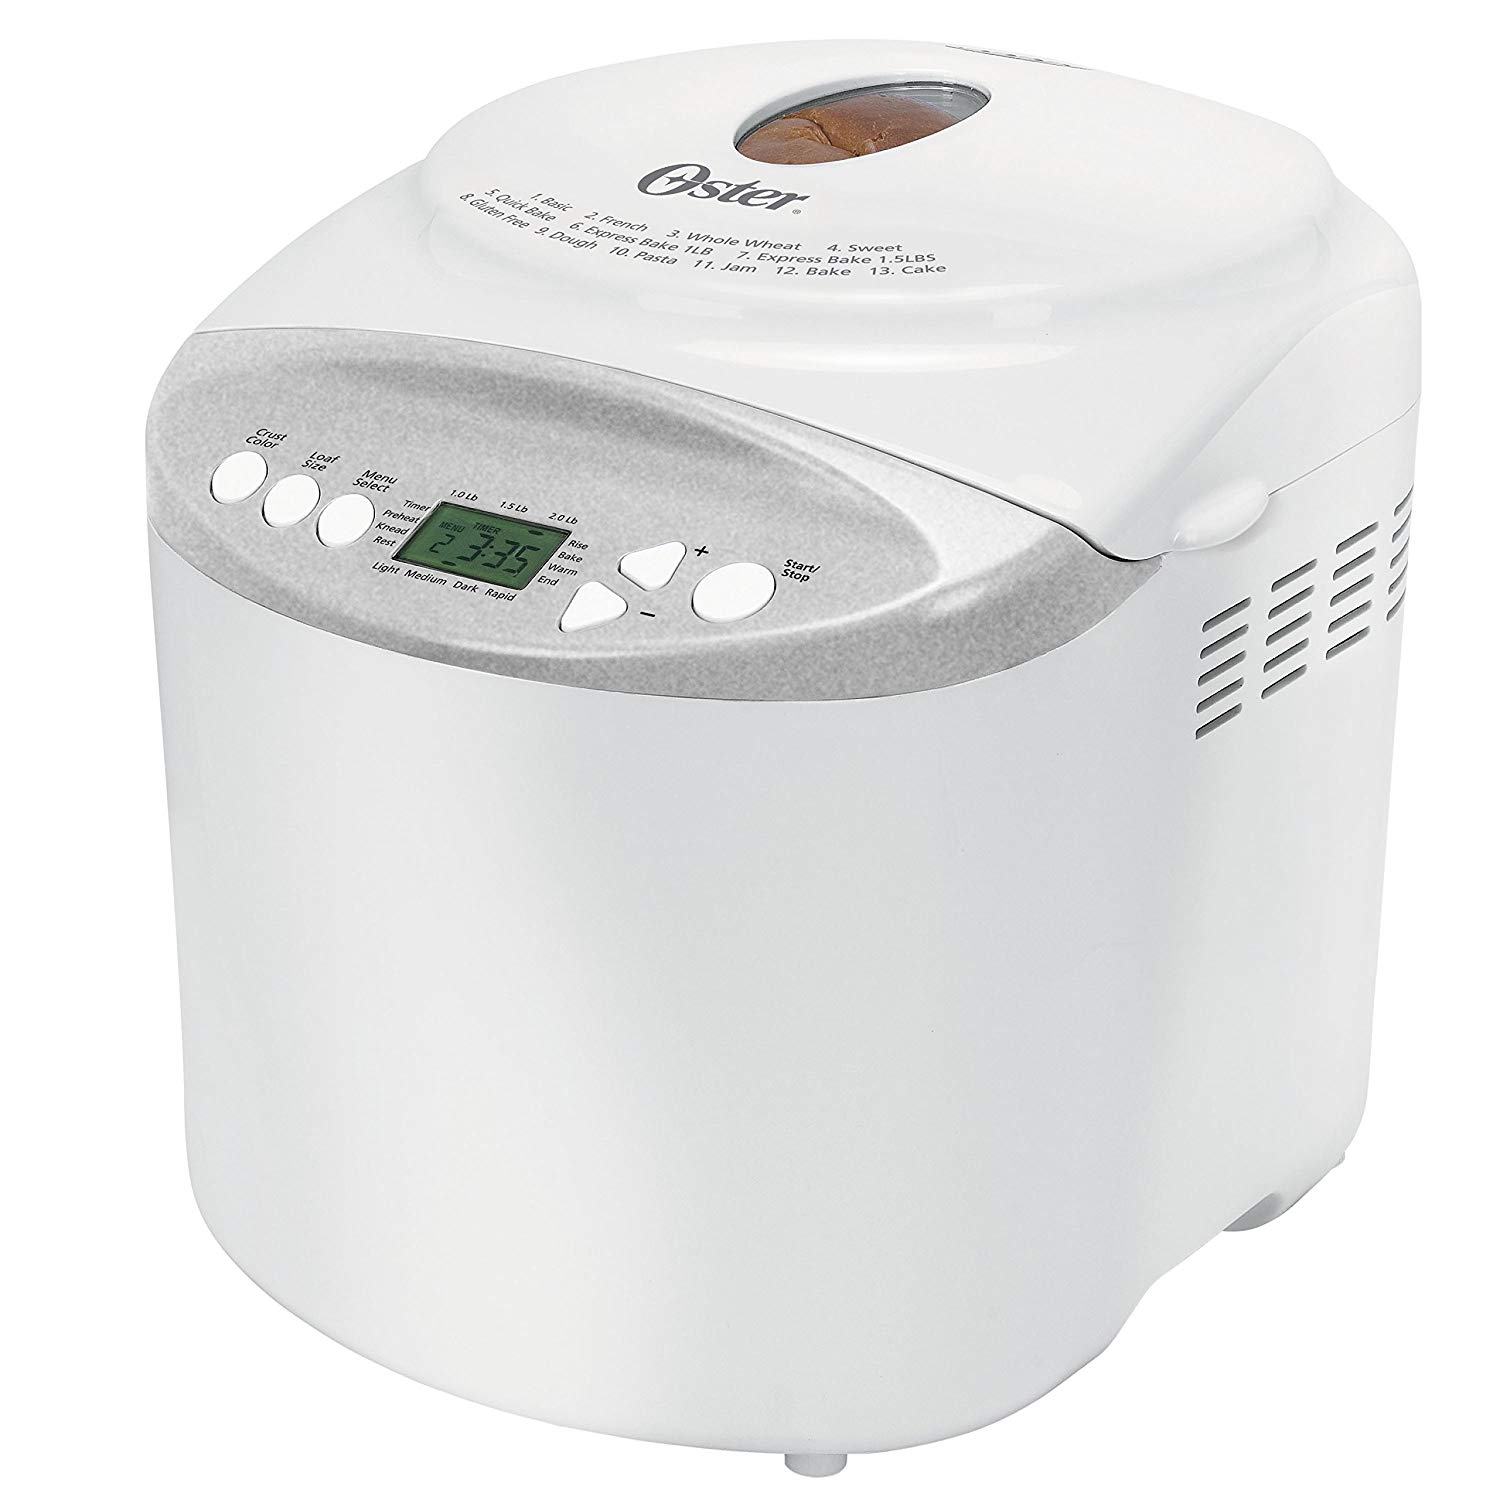
 Oster CKSTBR9050
2-Pound Expressbake
Breadmaker, White
Short Review: 


No need to spend more money on
fancier models. This is the only bread maker you need for everyday use.
Detailed Review:
By
way of introduction, I and my family have been using bread machines for
almost 25 years.
My
first brand was an Oster. When I got married I gave away my Oster
and tried other brands such
as Cuisinart, Zojirushi, and Breadman, etc.
Finally, I have come back to Oster. This
Model is one of the most basic and least expensive bread machines you
can buy... and guess what... these inexpensive Osters are the best in
my opinion. THE KEY ADVANTAGE TO THIS MODEL (OVER OTHER OSTERS) IS THE DOMED ROOF, WHICH ALLOWS THE BREAD TO RISE NICELY AND NOT GET SMASHED UP AGAINST IT.
Many people fail when it comes to making bread in
bread machines because they fail to understand some of the basics of
bread making. Not that I am a master bread maker or anything, but
I have made bread outside of the bread machine world.
SO,
what is
the key, what is the secret that they don't tell you? The consistency of the dough ball.
If the ball is too dry or wet, it will flop! In my experience,
the dough ball consistency should be like a baby's... cheek. SO,
put in all the
ingredients and start the cycle, whichever you are using and after
about 3 mintues, lift up the lid and take a look.
If there is flour there are pieces of dough in the bowl, than it is too
dry. If the dough is sticking to the sides or your finger when
you touch it, it is too wet.
YOUR
FINGER SHOULD NOT STICK TO THE
DOUGH BALL, WHEN TOUCHED, THAT IS THE KEY!
Feel
free to start the
whole cycle over again after the initial mixing period is over, if you
need to get the consistency right. Add flour or water with a
teaspoon to get the consistency just right. And if you add
too much flour or water, don't worry, you can correct it by adding a
little more... flour or water!
Sample Bread Machine
Sourdough Egg
Bread ("Challah") recipe:
1 Cup of starter, which should be the
consistency of pancake batter.
(see below for starter recipe)
2 1/2 Cups of white high gluten flour
2 Eggs
2 Tablespoons of honey or sugar
2 Tablespoons of oil
1 teaspoon salt
2 teaspoons instant yeast
Set it to 1.5 lb loaf and the desired crust (my kids like the crust
well done). Set it to basic or sweet, experiment on your own to
see which works better. Push the button to start and watch the
machine do its magic.
Don't
be afraid to help it along by scraping off dough from the sides with a
plastic knife or spatula. (Never let anything metal touch the
container of the bread machine, so as not to scratch it.) Add
flour or water 1 teaspoon at a time, to adjust consistency, as
discussed below. Get it to the correct consistency by the end of
the first mixing cycle. In
my experience,
the dough ball consistency should be like a baby's... cheek.
Touch the dough with your finger, if it sticks, it is too wet, add a
teaspoon of flour at a time. If the dough ball is falling apart,
then it is too dry.
If
you have not reached the desired consistency by the end of the first
cycle, start it over it again.
NOTE:
If all goes as plans, the bread will likely rise enough so that it
touches the inside of the window on the top lid. If you want, you
can tape a piece of wax or baking paper to the inside of the window, so
that the dough won't stick to the window.
Simple sourdough
starter: mix well 2 cups of flour, with 2 cups
of water, and 1 tablespoon of instant bread yeast. It should look
like a loose pancake batter. Cover bowl with a towel and leave
overnight in a warm place. Make sure to use a bowl that will have
plenty of volume, because the starter will grow and go over the top if
the bowl is too small. Once "established," store starter in
covered glass container in the fridge. Remove from fridge at
least 3 hours before using it, so that it can reach room
temperature. When removing started from the fridge, add at least
1 cup of flour and water if necessary to maintain the pancake batter
consistency.
IN MY EXPERIENCE, THE KEY TO WORKING WITH A STARTER
IS TO MIX IN A CUP OF FLOUR, TO "FEED" THE STARTER AT LEAST 12 HOURS, BEFORE USING IT.
From the Experts at King Arthur Flour: The pH of a sourdough
starter discourages the proliferation of harmful microorganisms.
However, if your starter turns ominously pink or red; shows signs of
mold growth, or smells decidedly putrid, throw it away and begin again.
By
the way, if you get a traffic ticket
in New York I would recommend the lawyer: NY
Ticket Lawyer
 rue-Review.org
